Blog
How to Improve Your Photography with Camera Stabilization Tools
How to Improve Your Photography with Camera Stabilization Tools
Photography is all about capturing moments in sharp focus, with clear details and crisp lines. However, achieving that ideal shot can be difficult when camera shake, movement, or instability creeps in. Whether you’re shooting in low light, using a long lens, or capturing video, camera shake can lead to blurry or unusable images. This is where camera stabilization tools come into play.
In this article, we’ll explore how camera stabilization tools can elevate your photography, what kinds of tools are available, and how to choose the right one for your needs.
1. What Is Camera Stabilization?
Camera stabilization refers to the use of technology or tools designed to reduce or eliminate the effects of unwanted movement during shooting. When a photographer moves the camera, whether it’s through hand shake, walking, or tilting, stabilization helps minimize blur caused by that movement.
Stabilization is crucial in several scenarios:
- Low Light: In dim conditions, slower shutter speeds are needed, which can make it harder to avoid motion blur.
- Long Lenses: When using telephoto lenses, even tiny movements are magnified, making it more difficult to keep the shot steady.
- Video: In video, any shake or jitter is far more noticeable, making smooth motion and stabilization even more important.
Fortunately, several tools and technologies help photographers stabilize their cameras and achieve sharp, clear results, whether for still photography or video.
 2. Types of Camera Stabilization Tools
There are various stabilization tools available for photographers, each with its own set of features and advantages. Some of the most common tools include:
a. Tripods
A tripod is one of the most basic yet effective tools for stabilizing your camera. It provides a steady platform for your camera, completely eliminating the risk of camera shake when shooting long exposures or static shots.
- Why It’s Effective: A tripod offers complete stability, ensuring no movement from the camera, which is particularly useful for long exposure photography and when shooting in low light.
- Best For: Landscape photography, architecture, night photography, and any situation where the camera needs to remain stationary for long periods.
- Tips for Use:
- Ensure that your tripod is placed on a flat surface to avoid any unintentional movement.
- Consider using a tripod with a built-in level to ensure your shots are perfectly aligned.
- Always use a remote shutter release or the camera’s self-timer to avoid shaking the camera while pressing the shutter button.
b. Gimbals (For Video)
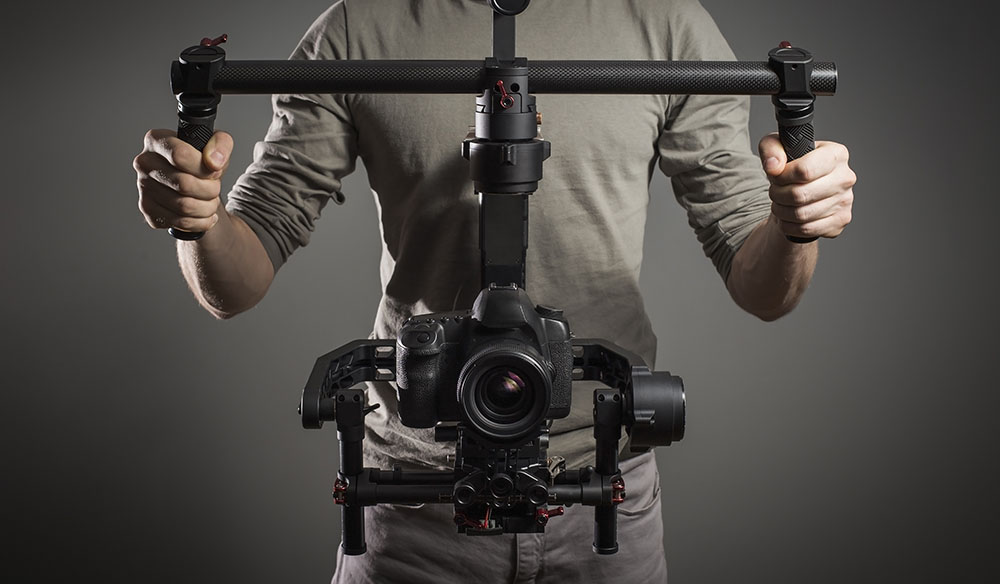
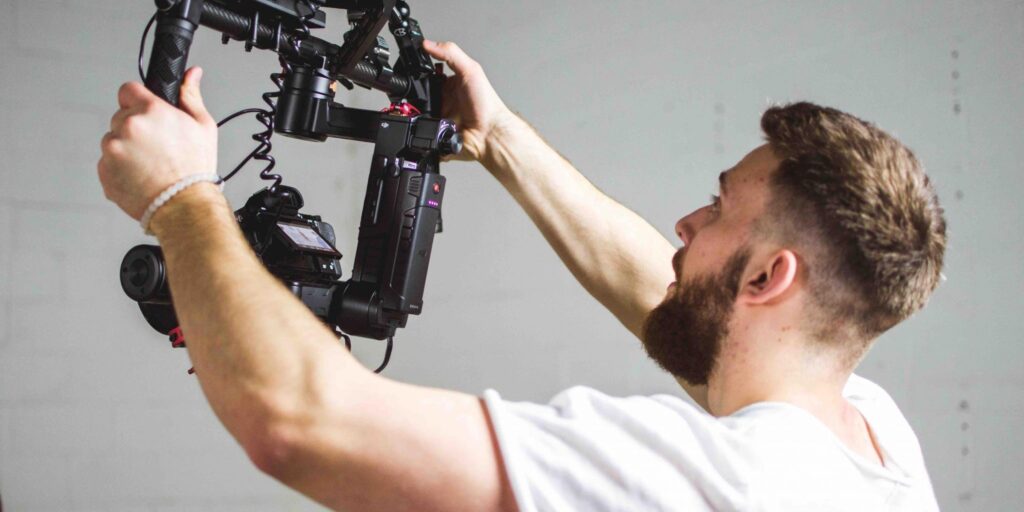
For photographers who also shoot video, a gimbal is an excellent tool for stabilization. Gimbals are handheld devices that use motors and sensors to keep your camera steady while you move. They are most commonly used for video work to create smooth, cinematic shots while walking or panning.
- Why It’s Effective: Gimbals counteract movement in three axes (pitch, yaw, and roll), ensuring the camera stays level and smooth, even when the user is in motion.
- Best For: Video shooting, especially action scenes, running shots, and tracking shots in both professional and amateur filmmaking.
- Tips for Use:
- Balance your camera on the gimbal properly before shooting to avoid any unnecessary strain on the motors.
- Familiarize yourself with the gimbal’s controls for smooth movements.
- Keep the gimbal in the optimal weight range—overloading it can result in reduced stabilization performance.
c. Image Stabilization (IS) and Vibration Reduction (VR) Lenses
Many modern camera lenses come equipped with built-in image stabilization (Canon calls it IS, Nikon calls it VR). These lenses contain optical elements that move to compensate for small hand movements, allowing for steadier shots, particularly at slower shutter speeds.
- Why It’s Effective: Image stabilization in lenses reduces the effect of small shakes or jitters, making it easier to shoot at slower shutter speeds without blur, especially when handholding the camera.
- Best For: Photography where a tripod is not feasible, such as street photography, wildlife, or action shots.
- Tips for Use:
- While image stabilization is great for most shooting scenarios, turn it off when using a tripod, as it can cause small movements that may degrade image quality.
- Some lenses allow you to control the intensity of the stabilization. Use the most aggressive settings when shooting handheld at slower shutter speeds.
d. Steadicams (For Video)
Steadicams are more advanced stabilization systems used for video production, providing high levels of stabilization while allowing for free movement. A Steadicam consists of a harness worn by the operator, which is connected to a gimbal system that holds the camera steady while the operator moves.
- Why It’s Effective: Steadicams absorb and counteract the movements of the operator’s body, providing incredibly smooth footage even when walking or running.
- Best For: Professional video shoots that require significant movement, such as in film, television, or documentaries.
- Tips for Use:
- Learning to use a Steadicam takes practice, so start with slow movements and gradually build up your skill.
- Make sure the rig is properly balanced and that the camera is securely attached to prevent unwanted shakes.
- Practice moving fluidly, as jerky movements can still cause instability.
e. Handheld Stabilizers
For a more affordable alternative to Steadicams, handheld stabilizers are available. These systems typically involve a single handle that allows you to steady the camera using counterweights to prevent shake. While not as advanced as a gimbal or Steadicam, handheld stabilizers still improve stability significantly over shooting with just your hands.
- Why It’s Effective: Handheld stabilizers provide a more affordable solution for steady video footage and are easier to use than Steadicams.
- Best For: Amateurs and professionals who need stabilization on a budget, ideal for handheld video shooting in motion.
- Tips for Use:
- Balance your camera on the stabilizer carefully to achieve the best results.
- Use your body to absorb movements and keep your shots smooth and controlled.
- Be mindful of your posture while using the stabilizer, as incorrect posture can lead to unwanted tilts or shakes.
 3. How to Choose the Right Stabilization Tool
Choosing the right stabilization tool depends on the type of photography or videography you do. Here are some factors to consider:
- Photography vs. Videography: For still photography, a tripod or stabilized lens might be sufficient. For video, a gimbal, handheld stabilizer, or Steadicam could be necessary, depending on the movement and type of shot.
- Portability: If you’re constantly on the move, choose a lightweight and compact tool like a handheld stabilizer or a smaller tripod. For more stationary shooting, a heavier tripod or Steadicam might be better suited for professional work.
- Budget: While high-end gimbals and Steadicams offer excellent stabilization, they can be expensive. If you’re on a budget, start with a basic tripod or a lens with built-in stabilization.
- Ease of Use: Some stabilization tools, like tripods, are easier to set up and use, while others, like Steadicams, may require practice. Make sure to choose a tool you’re comfortable with.
4. Conclusion
Camera stabilization tools are invaluable for improving your photography and videography. Whether you’re using a tripod to eliminate camera shake in long exposure shots or a gimbal to achieve smooth video, these tools allow you to capture sharp, steady images and videos in any environment. The right stabilization tool can drastically improve the quality of your work, reduce frustration from shaky shots, and expand your creative possibilities.
Investing in a good stabilization tool is a great way to elevate your photography, no matter your skill level. Consider your shooting style, budget, and goals, and select the right stabilization tool to help you capture clear, stunning photos and videos every time.


