Blog
Understanding Camera Settings: A Beginner’s Guide to Photography
Understanding Camera Settings: A Beginner’s Guide to Photography
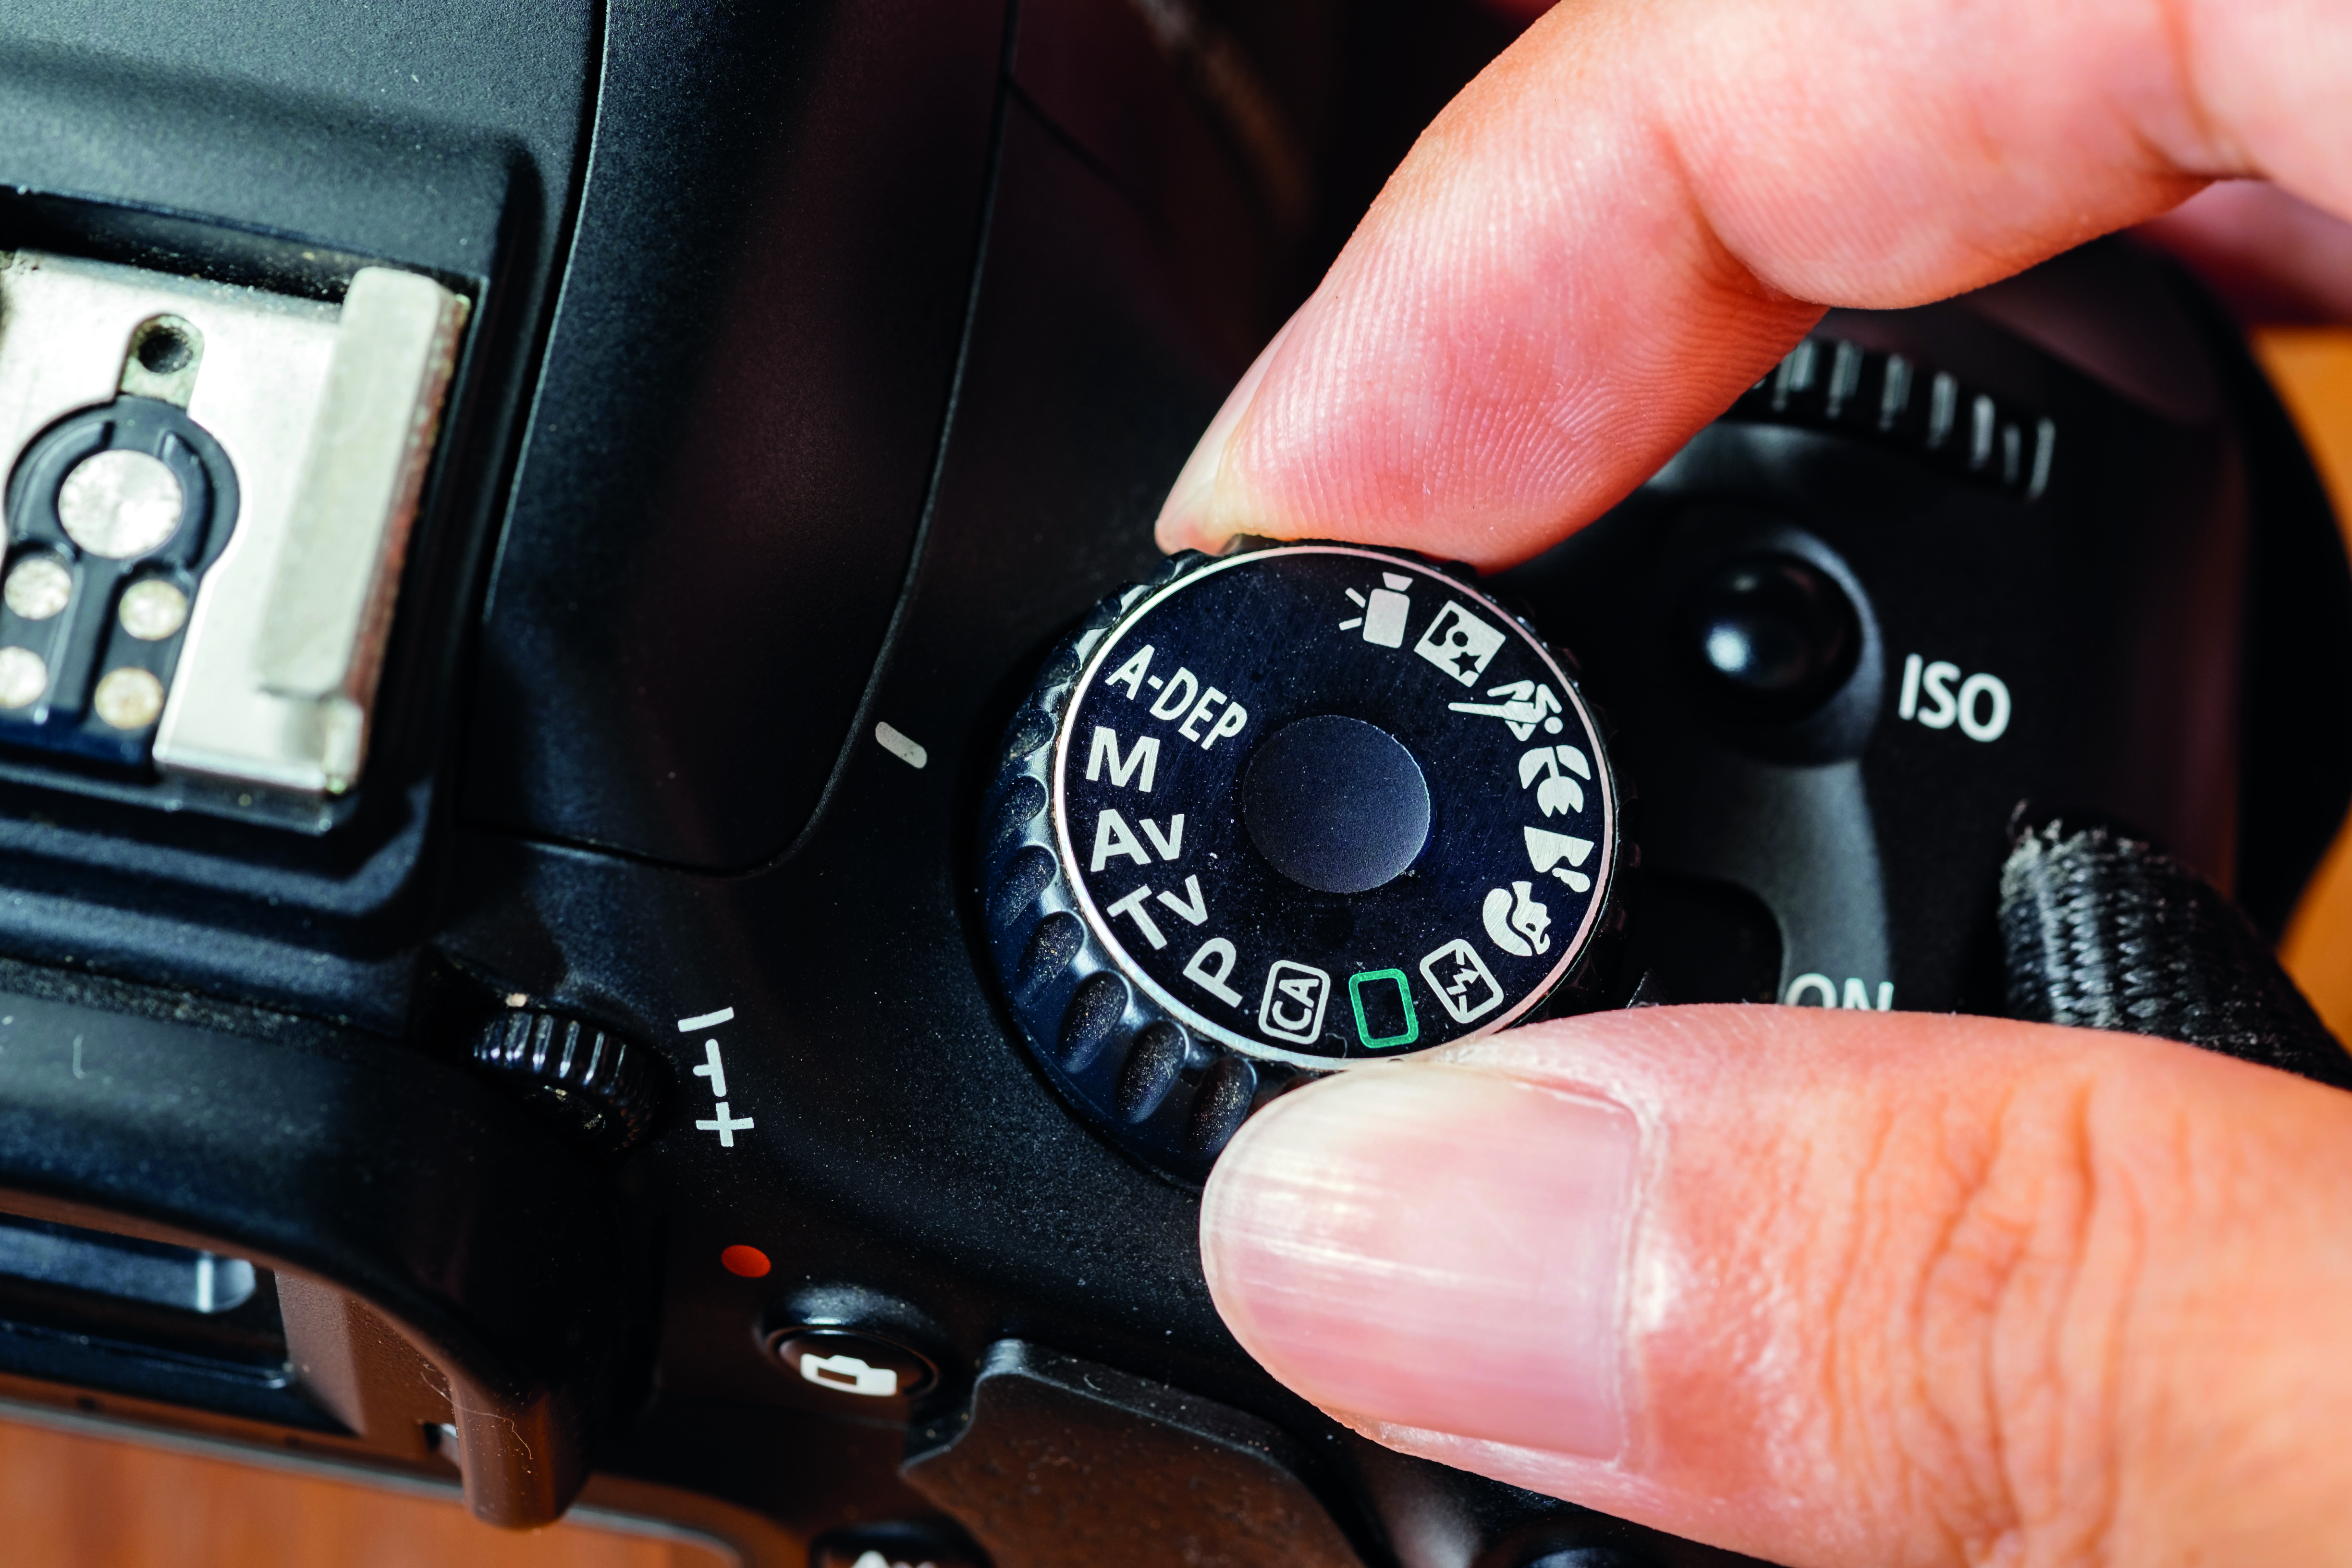
Photography is both an art and a science, and one of the key elements in capturing stunning images is understanding how your camera settings work. Whether you’re using a professional DSLR, a mirrorless camera, or even a smartphone, mastering your camera settings allows you to have greater control over the final outcome of your photos. This guide is designed to help beginners understand the essential camera settings that can elevate your photography skills. From shutter speed to aperture and ISO, we’ll break down the most important settings and explain how they impact your photos.
1. Aperture: The Size of the Opening
Aperture refers to the size of the opening in your lens through which light passes into the camera. It is one of the key components of the exposure triangle (along with shutter speed and ISO) and plays a crucial role in both the exposure and depth of field in your photos.
How Aperture Affects Your Photos:
- Depth of Field: A wide aperture (low f-number, like f/1.8) creates a shallow depth of field, which means the background will be blurred and the subject will be in focus. This is perfect for portraits or product photography, where you want to isolate the subject from the background. A narrow aperture (high f-number, like f/16) gives a deeper depth of field, meaning more of the scene will be in focus. This is useful for landscape photography where you want everything to appear sharp.
- Light: A wider aperture allows more light to hit the camera sensor, making your photos brighter, especially in low-light situations. A smaller aperture restricts light, which can help avoid overexposure in bright environments.
Common Aperture Settings:
- f/1.4 to f/2.8: Ideal for portraits with a blurred background (bokeh effect).
- f/5.6 to f/8: Great for general photography, offering a good balance between depth of field and light.
- f/11 to f/16: Suitable for landscape shots where you want everything in focus.
2. Shutter Speed: How Long the Camera Shutter Stays Open
Shutter speed determines how long the camera’s shutter remains open to allow light to hit the camera sensor. Faster shutter speeds (like 1/1000 second) allow less time for light to enter, while slower shutter speeds (like 1/30 second) let in more light. The speed you choose can affect both the exposure and the overall look of your image.
How Shutter Speed Affects Your Photos:
- Motion Blur: A slow shutter speed allows moving subjects to appear blurred, which can create a sense of motion (such as the flowing movement of water or the motion of cars in a city). For example, a shutter speed of 1/30 second can create a smooth blur in fast-moving subjects.
- Freezing Action: A fast shutter speed (like 1/1000 or 1/2000 second) can freeze motion, making fast-moving subjects, like athletes or birds, appear sharp and clear. This is ideal for action shots or capturing fast movements without blur.
- Low-Light Photography: Slower shutter speeds (like 1/60 second) allow more light into the camera, which can help in low-light conditions. However, longer exposures may result in a blurry photo if the camera or subject moves, so a tripod is often needed for stability.
Common Shutter Speed Settings:
- 1/1000 to 1/500 sec: Great for freezing fast-moving subjects (sports, wildlife).
- 1/250 to 1/60 sec: Ideal for everyday photography with minimal motion blur.
- 1/30 to 1 sec: Perfect for capturing motion blur (e.g., flowing waterfalls, car lights at night).
- Long Exposure (several seconds or minutes): Used for creative shots like star trails, light painting, or cityscapes at night.
 3. ISO: Sensitivity to Light
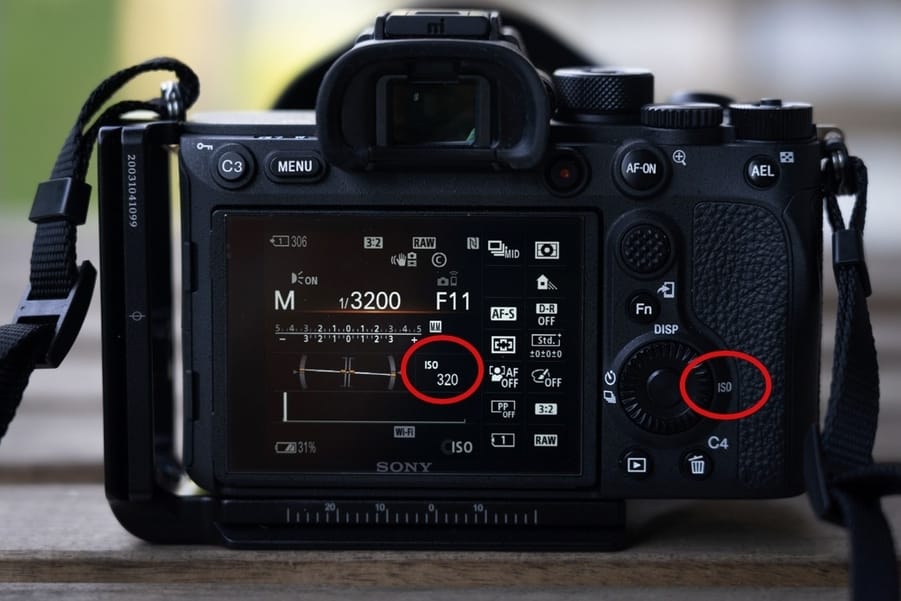
ISO controls the camera’s sensitivity to light. The higher the ISO number, the more sensitive the camera becomes, allowing you to take photos in low-light situations without needing a longer shutter speed or a wider aperture. However, increasing ISO also introduces digital noise (grain) into your images, so it’s important to find a balance between sensitivity and image quality.
How ISO Affects Your Photos:
- Low ISO (e.g., ISO 100-400): Produces the cleanest, sharpest images with little noise. Ideal for well-lit situations, such as outdoors during the day.
- High ISO (e.g., ISO 1600-6400 and beyond): Allows you to take photos in low-light situations, but can introduce grain or noise into your photos. It’s commonly used for indoor photography or night shots.
Common ISO Settings:
- ISO 100-400: Best for bright outdoor conditions with plenty of natural light.
- ISO 800-1600: Useful for low-light environments, such as indoor events or evening photos.
- ISO 3200-6400+: Great for night photography or when using faster shutter speeds, but keep an eye on noise levels.
4. The Exposure Triangle: Balancing Aperture, Shutter Speed, and ISO
The three key elements—aperture, shutter speed, and ISO—work together to create a well-exposed photo. This concept is known as the exposure triangle. When you adjust one setting, you need to adjust the others to maintain proper exposure. For example:
- If you open the aperture (using a lower f-number) to let in more light, you may need to use a faster shutter speed or lower ISO to avoid overexposing your photo.
- If you’re shooting in low light and increase the ISO, you may need to use a slower shutter speed or wider aperture to maintain proper exposure.
Understanding how these settings work together allows you to control the exposure and creative effects of your photos. Here’s a quick guide on balancing these settings:
- Low Light: Open the aperture (lower f-number), increase ISO, or use a slower shutter speed.
- Action Shots: Use a fast shutter speed to freeze motion, and adjust aperture and ISO to balance the exposure.
- Portraits: Use a wide aperture (low f-number) to blur the background and keep your subject in focus.
- Landscape: Use a narrow aperture (high f-number) to get everything in focus, and adjust shutter speed and ISO for proper exposure.
 5. Autofocus and Manual Focus
Most modern cameras, including smartphones, come with autofocus, which automatically adjusts the lens to achieve sharp focus on your subject. However, there are times when you may want to switch to manual focus to have more control over the sharpness of your photo.
Autofocus: Autofocus is great for most situations, especially when you’re capturing moving subjects or need to quickly adjust focus. However, it can struggle in low light or with subjects that don’t have a clear contrast (like a flat-colored surface).
Manual Focus: Switching to manual focus allows you to fine-tune the focus point, making it ideal for macro photography or landscapes where you want precise control over which part of the scene is in focus.
6. White Balance: Adjusting Color Temperature
White balance controls the color temperature of your photos, ensuring that colors appear natural under different lighting conditions. For instance, photos taken under tungsten light (like indoor lighting) can appear yellow or orange, while photos taken in daylight can have a cool, blue tint.
How White Balance Affects Your Photos:
- Auto White Balance (AWB): Most cameras automatically adjust white balance, and for most situations, this is fine. However, in challenging lighting conditions, you might want to manually set the white balance.
- Preset White Balance: Many cameras have preset options such as Daylight, Cloudy, Tungsten, and Fluorescent, which can be helpful when shooting under specific light sources.
 Conclusion: Start Experimenting and Practice
Now that you have a basic understanding of essential camera settings, it’s time to experiment with them and practice. Photography is all about trial and error, and the more you use your camera, the better you’ll become at understanding how settings work together to produce the desired results. Whether you’re shooting portraits, landscapes, or action shots, mastering these key settings will give you the confidence and creativity to take stunning photos with your camera. So get out there, start experimenting, and enjoy the world of photography!


